How to track time with a location?
Enhance time tracking accuracy by adding locations to time entries
Tracking time with locations can provide valuable insights into your team’s work patterns and productivity, especially for remote or field-based teams. Jibble’s GPS tracking software offers an easy way to ensure accurate time tracking by adding locations to time entries.
If you’re interested in location tracking via GPS, check out our article on how GPS location tracking works.
This article covers:
Adding location to time entries
Users of all roles can easily add location details to their time entries via Jibble’s web app. To get started, be sure you have added locations to your organization.
- Click on the green play button to clock in.
- On the sidebar, select a location from the dropdown list.
Note: Available locations are based on the member’s work schedule assignments. Read more about assigning locations to schedules.
- If needed, select an activity, project and add a note.
- Tap on Save to clock in.
- To clock out, click on the red stop button and select a location on the sidebar.
- Tap on Save to clock out.
▶️ Try it yourself with our interactive walkthrough:
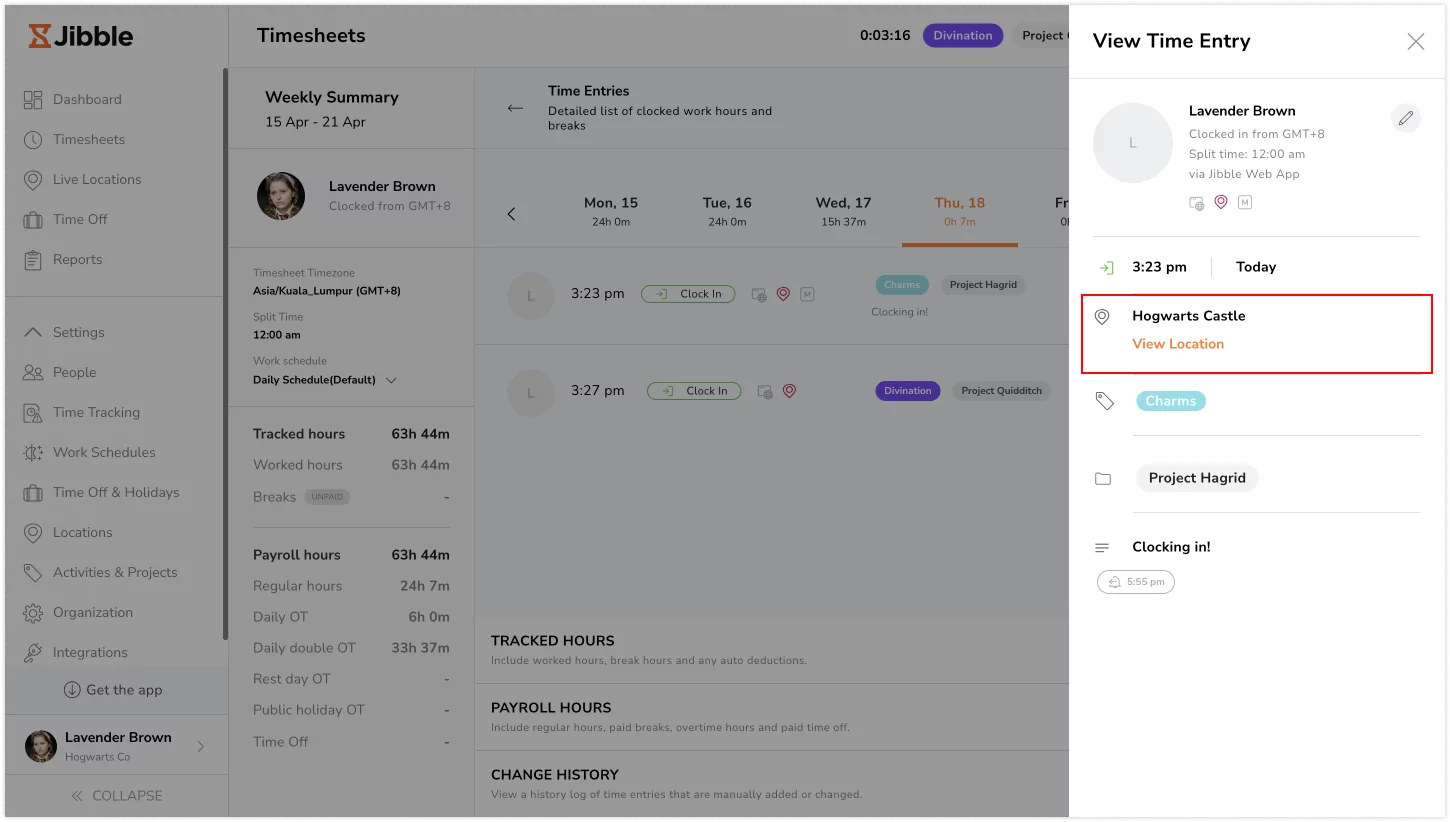
Reviewing time entries
Locations that were added without GPS coordinates will be tagged with a yellow icon to indicate they weren’t detected by GPS.
- Navigate to the Timesheets tab.
- Select a day to view time entries for.
- On the detailed time entries view, click on a specific time entry to view the associated location details.
Editing location details
If needed, you can edit the location associated with a time entry. Edited time entries are logged in the Change History and will be indicated with a yellow location icon. Read more about editing time entries.
- Go to Timesheets.
- Select the relevant day.
- On the detailed time entries, click the pencil icon to make adjustments.
Note: To edit time entry locations, members will need the appropriate permissions. Learn more about managing time tracking rules.
- Select a different location from the dropdown list.
- Click on Save and add a reason for the change.
- The changes will be reflected in the Change History section.
▶️ Step through the process in this guided demo: