How to assign members and groups to kiosks via Web
View and manage kiosk assignments for members and groups
Kiosk assignments allow you to control which members or groups can use specific kiosks to clock in and out. This article explains how to assign kiosks to both individual members and groups through the web app.
You can assign members or groups to one or multiple kiosks, and kiosks can include multiple members or groups. Learn more about how multiple kiosks work.
This article covers:
- Assigning a member to kiosks
- Assigning multiple members to kiosks
- Assigning a group to kiosks
- Assigning multiple groups to kiosks
- Viewing and filtering kiosk assignment
Assigning a member to kiosks
- Go to People and you’ll land on the Members page.
- Hover over the member’s name and click the ellipsis (⋯) icon.
- Select Manage kiosks.
- A sidebar will appear with two tabs:
- Selected – kiosks currently assigned to the member.
- All – full list of kiosks available in the organization.
- Select or unselect the kiosks you want the member to access.
- Click Done once you’re satisfied.
- Click Save and Confirm to apply changes.
▶️ Step through the process yourself.
Assigning multiple members to kiosks
- Go to People and you’ll land on the Members page.
- Use the checkboxes to select two or more members.
- Click on the Assign button and choose Kiosks.
- A sidebar will open, showing two tabs for selecting kiosks:
- Selected – kiosks selected for assignment.
- All – complete list of kiosks in your organization.
- Choose the kiosks to assign.
- Click Done once you’re satisfied.
- Click Save and Confirm to apply changes.
Note: Members can only be unassigned from kiosks individually via the web app; bulk unassignment is not supported.
▶️ Use the interactive steps to learn.
Assigning a group to kiosks
- Go to People and click on Groups.
- Hover over the group and click the ellipsis (⋯) icon.
- Select Manage kiosks and click on the Select kiosk field.
- A sidebar will appear, allowing you to switch between two tabs:
- Selected – kiosks you’ve selected for assignment.
- All – all kiosks in the organization.
- Make your selections.
- Click Done once you’re satisfied and click Save.
- Click Confirm to apply changes.
▶️ Follow the guide and give it a go.
Assigning multiple groups to kiosks
- Go to People and click on Groups.
- Use the checkboxes to select multiple groups.
- Click the Assign button and choose Kiosks.
- In the sidebar, choose kiosks from one of two tabs:
- Selected – kiosks you’ve chosen to assign to the group(s).
- All – a complete list of kiosks in your organization.
- Adjust the assignments as needed.
- Click Done and Save.
- Click Confirm to apply changes.
▶️ Follow and try the steps right here.
Viewing and filtering kiosk assignment
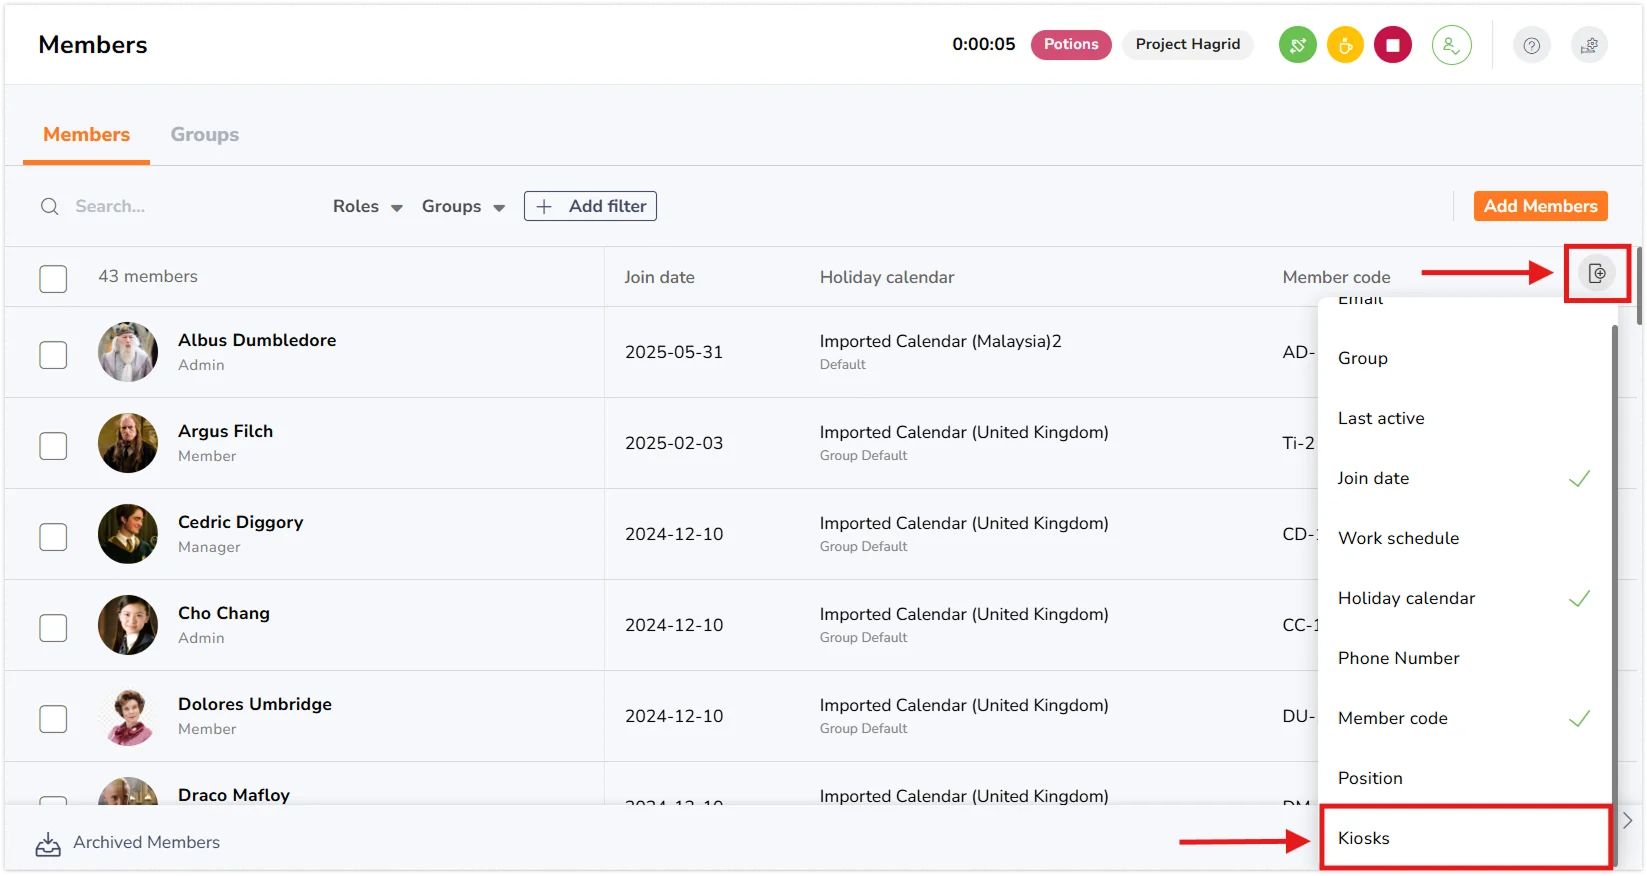
To view and filter kiosk assignments for members:
- Go to People > Members.
- Click the + column icon.
- Select Kiosk to display a column showing each member’s assigned kiosks.
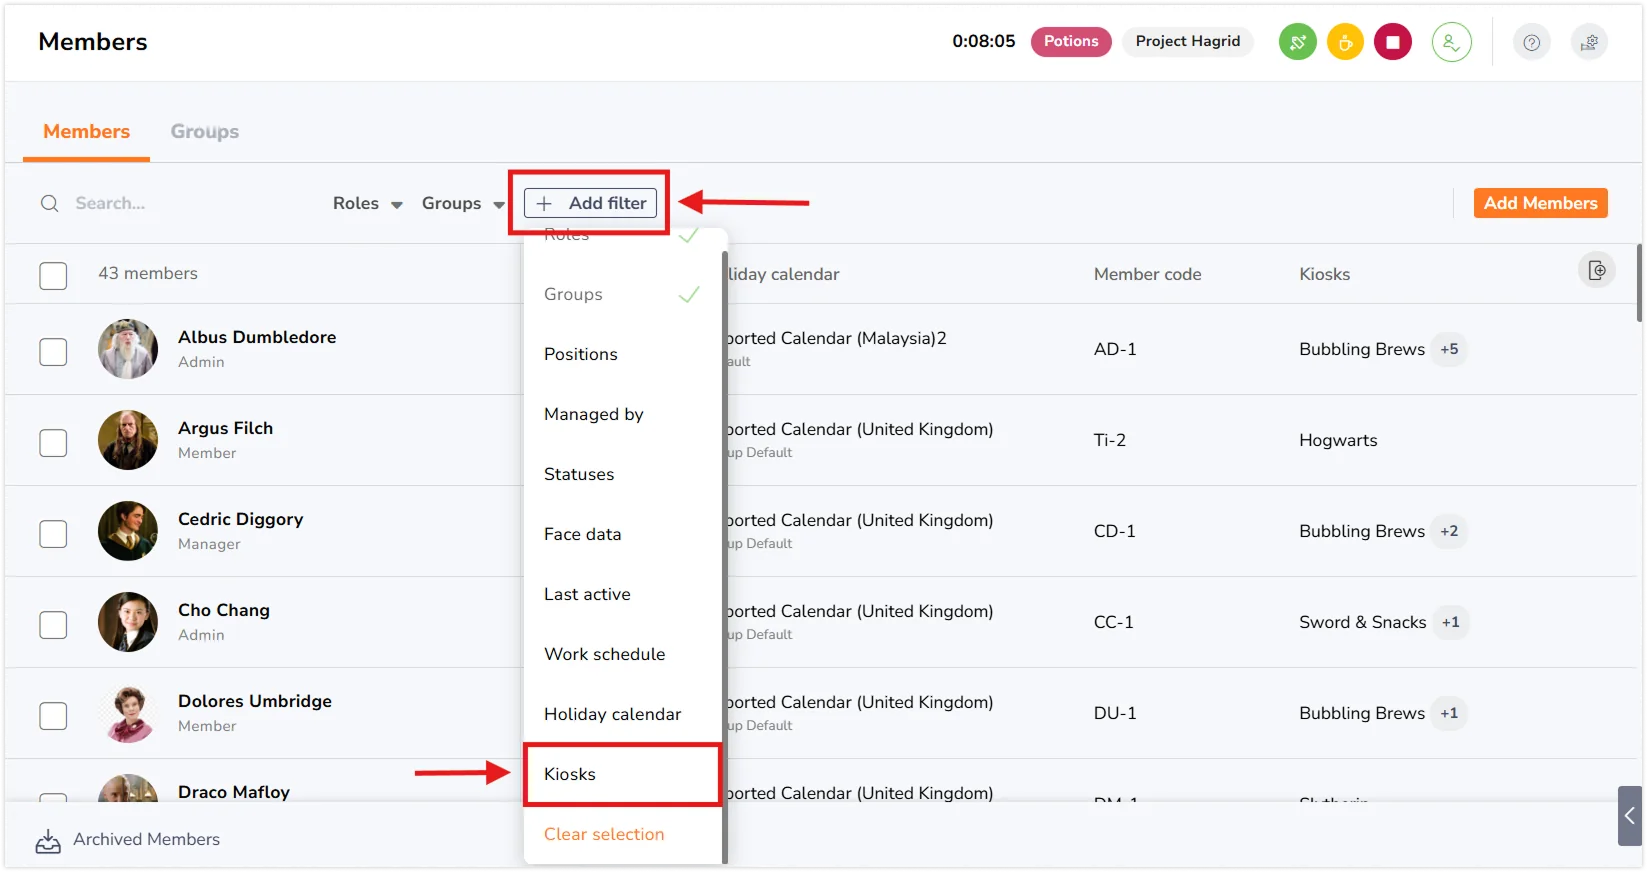
- To filter by kiosk, click + Add filter.
- Select Kiosks, and choose one or more kiosks from the dropdown list.
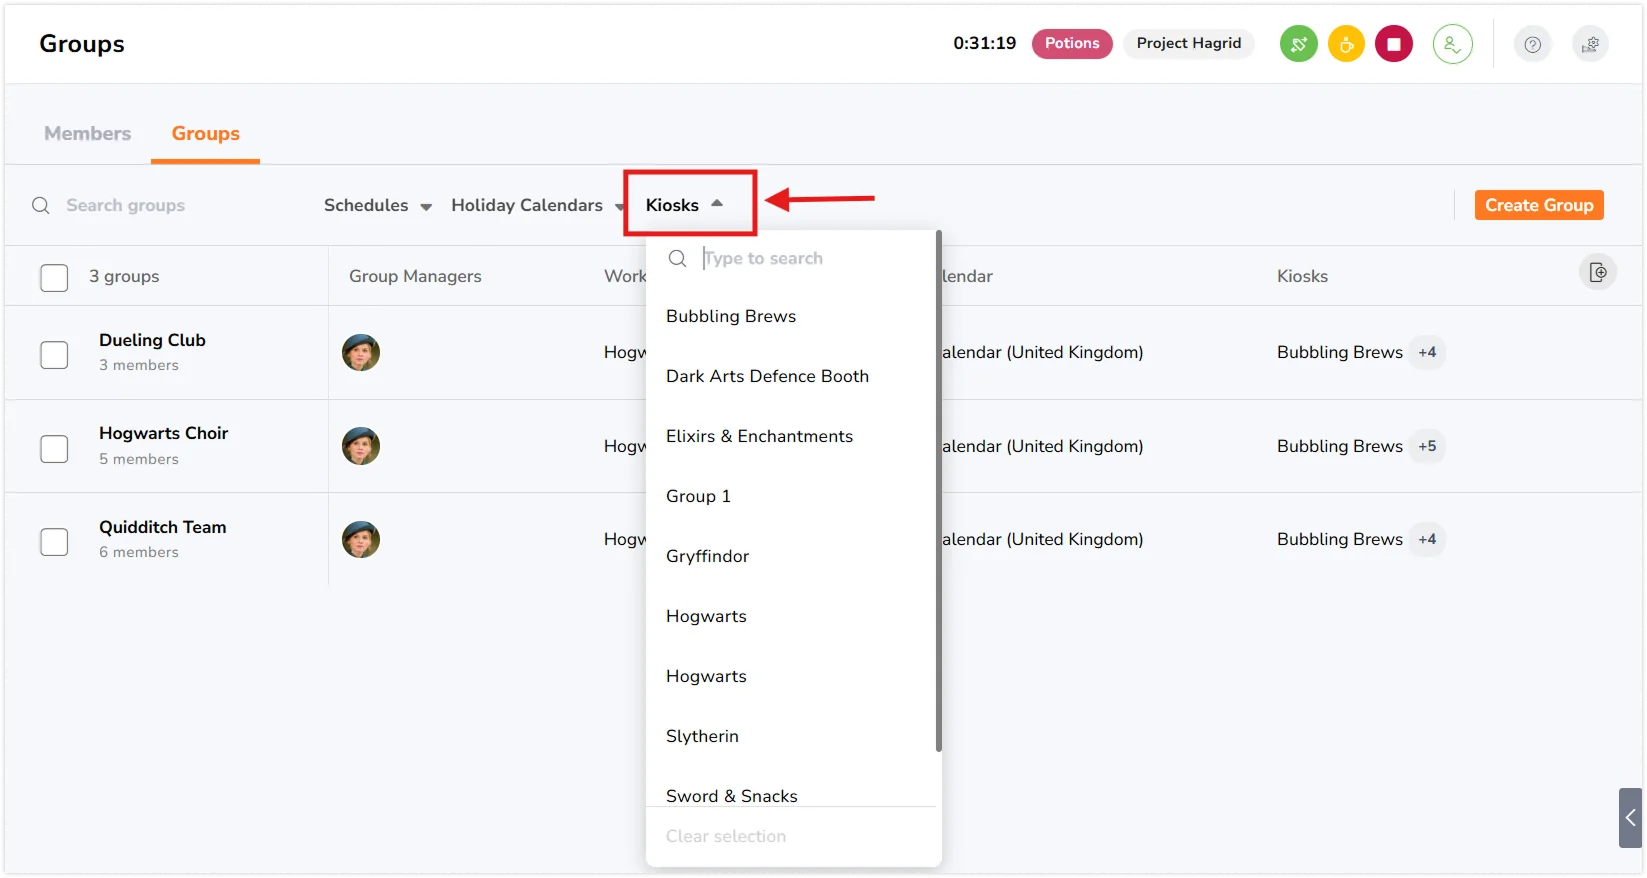
To view and filter kiosk assignments for groups:
- Go to People > Groups.
- Click the + column icon.
- Select Kiosks to display assigned kiosks for each group.

- To filter by kiosk, click the Kiosks filter at the top.
- Select the kiosk(s) you want to filter by.