Creating invoices in Jibble
Learn how to create invoices in Jibble using tracked time or manual line items
With Jibble’s time tracking and invoicing software, you can create professional invoices directly from tracked time or by adding manual line items, making it easy to bill clients accurately for work done.
You can generate invoices per client, apply custom billing rates, and customize invoice details to match your brand. For more information on invoicing, check out managing invoices in Jibble.
Creating a new invoice
Only Owners and Admins can create invoices in Jibble.
Note: Invoices support up to 200 line items. If you reach this limit, consider splitting the invoice into multiple invoices.
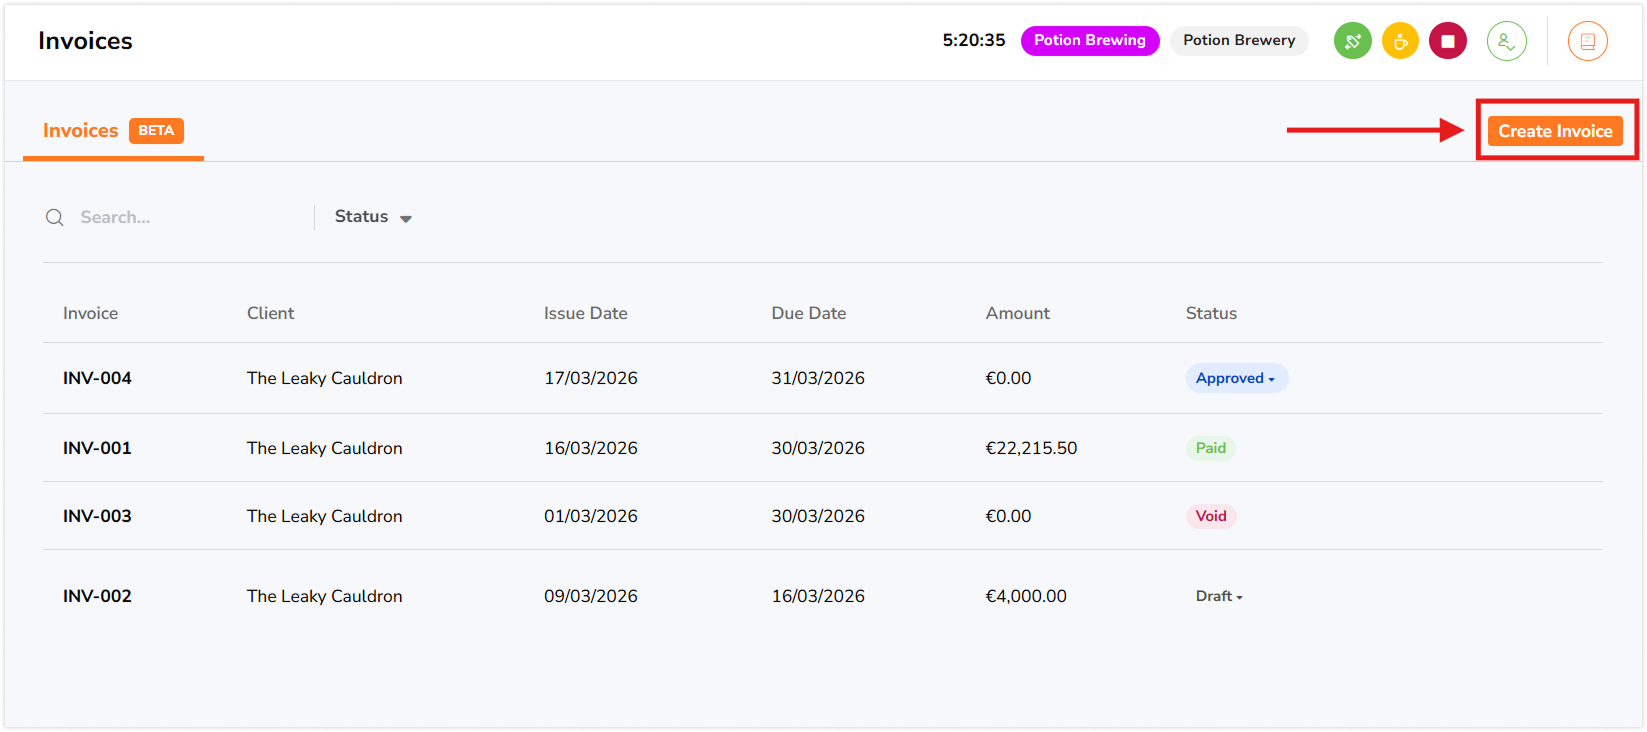
- Go to Invoices.
- Click Create Invoice.
- Enter the necessary details for your invoice:
- Invoice Number
- Currency – Currencies set under organization details are used by default. If a different currency is selected, a 1:1 conversion will be applied.
- Client
- Client Address
- Issue Date
- Due Date
- Logo
- Sender Address
- Discount (%) – Applied to the invoice subtotal and deducted from the total amount.
- Tax (%) – Applied after discounts and added to the final invoice amount.
- Notes
- Once you’re all set, click on Create Invoice.
- A preview of your invoice will be displayed.
Importing tracked hours
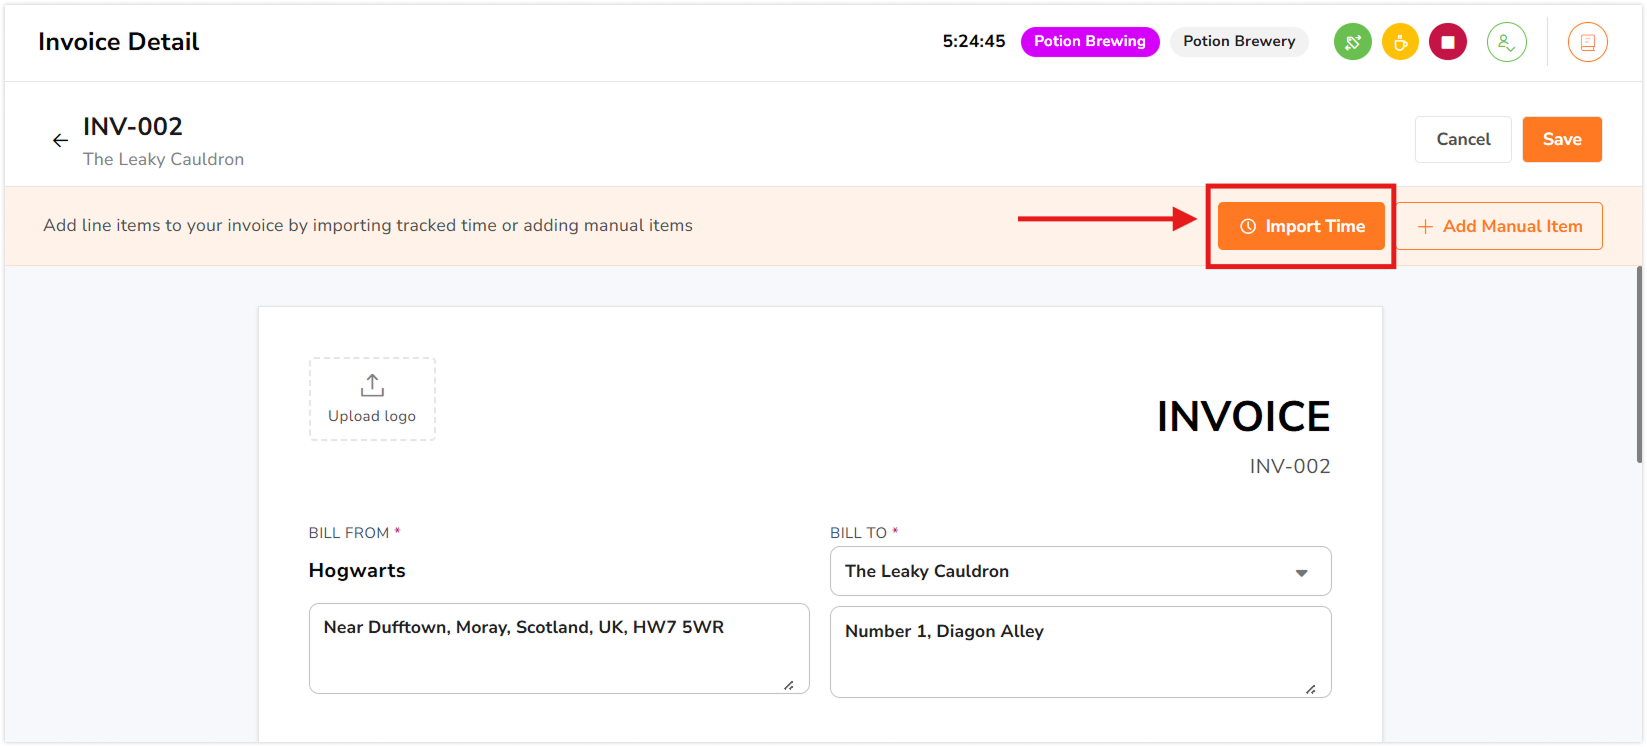
To import tracked hours directly into the invoice:
- Click on Import Time.
- Select the Date Range you want to import time for.
- Choose a Billing Rate to apply:
- Member Billable Rate – Uses billable rates set in each member’s profile.
- Project Rate – Applies custom rates defined for selected projects.
- Select the Projects you want to invoice for.
- Select the Members whose tracked time you want to include.
Note: If no members are selected, time from all members assigned to the selected projects will be included. - Click on Import Time.
- Your invoice totals will be calculated automatically based on your selections.
- Once you’re done, click Save to keep all changes and selections made to the invoice.
Adding manual line items
If you need to include fixed fees, adjustments, or one-off charges:
- Click on Add Manual Item.
- Enter the Description, Quantity and Rate.
- Click on Add Item.
- Your invoice will be updated automatically.
- Once you’re done, click Save to keep all changes and selections made to the invoice.
▶️ Check out our quick guided tour on creating invoices in Jibble: