Setting up external readers for NFC time tracking
How to set up and connect an external NFC or RFID reader to your mobile device for NFC time tracking
Jibble’s NFC time tracking kiosk helps ensure accurate and efficient time tracking with the use of NFC technology. If you don’t have an NFC-enabled device, you can purchase an external NFC or RFID reader and connect it to your iOS or Android device.
This article covers:
- Requirements and recommendations
- Connecting external readers to your device
- Using NFC kiosk with external readers
Requirements and recommendations
Jibble’s NFC feature supports both RFID and NFC external readers. To get started, you’ll need to purchase an external reader and compatible NFC cards.
Read more to learn about the recommended external readers and NFC cards to purchase.
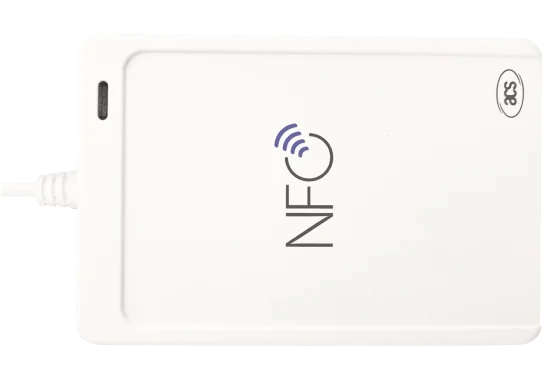
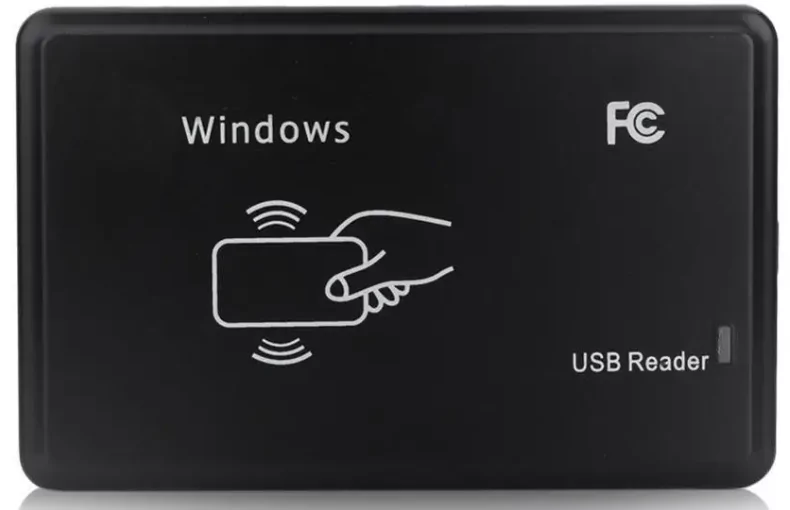
External Readers
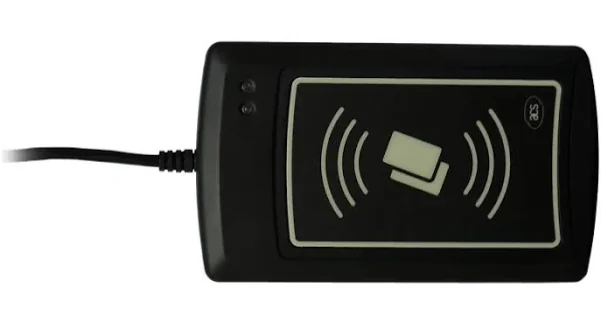
Note: This reader requires initial configuration on a Windows computer before use.
Follow these steps to set up the external reader:
- Install the driver via this link.
- Download and unarchive the configuration utility here.
- Connect the reader to your computer’s USB port.
- Run the configuration utility.
- Select your reader from the list and click on the Connect button.
- In the Reader Configuration section, set the Host interface to Only HID Keyboard.
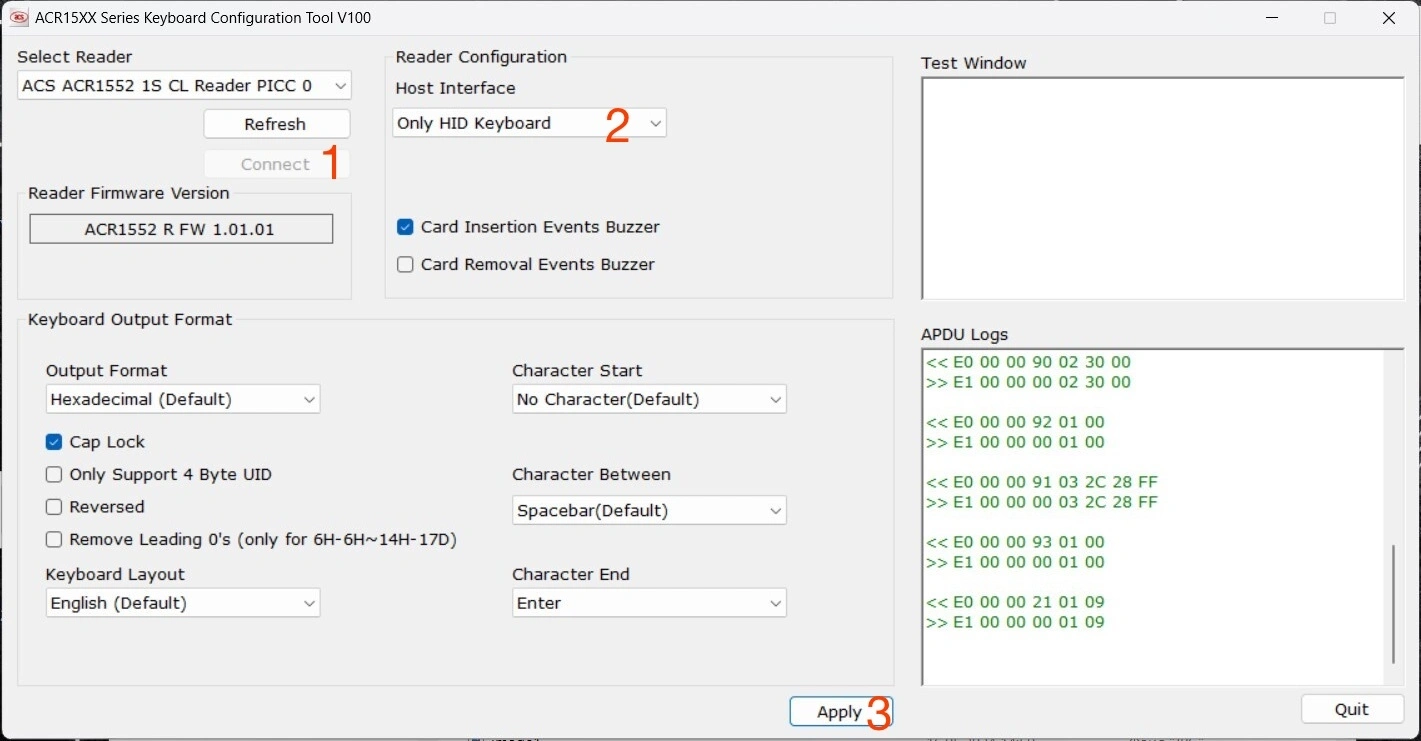
- Click on the Apply button to complete the setup.
- Your reader can now be used with Jibble’s NFC kiosk mode on your mobile device or tablet.
Note: These external readers support MIFARE Classic NFC cards only.
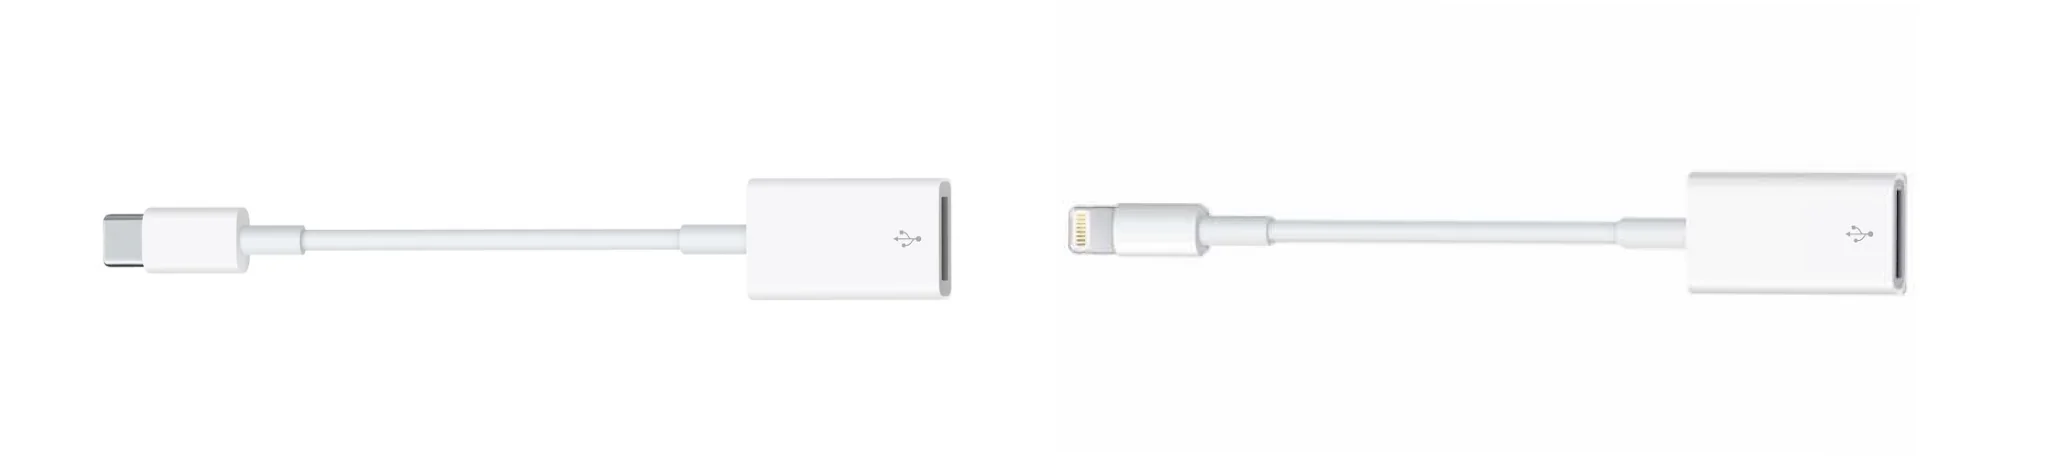
Adapters
Most external readers come with a USB cable. You may need to purchase a USB-C or lightning adapter as shown below to connect the external reader to your device.
NFC Cards/Tags
NFC cards come in various shapes and sizes, each containing a unique identifier that links to a specific user in Jibble.
For convenience, we recommend pre-initialized cards with ready-to-use unique identifiers. Here are our recommended options:
- MIFARE Classic
- MIFARE UltraLight
- MIFARE Plus
- MIFARE DESFire
Connecting external readers to your device
- Connect the external reader to the port of your mobile device or tablet.
- If the external reader comes with a USB cable, you will need to use a lightning or USB-C adapter to connect it to your device.
- Follow the guidelines as stated for your external reader.
Using NFC kiosk with external readers
Important ❗: The screen of your device must always be turned on (lit-up) in order for the external reader to be active.
- After you have connected your external reader to your device, open Jibble’s mobile app.
- Link team members to tags by adding an NFC tag.
- If you have not set up any kiosks, be sure to check out setting up kiosk mode.
- If you wish to use an existing kiosk, go to Menu > Switch to Kiosk > Select a Kiosk.
- Click on the cog icon on the top left corner to access Kiosk Settings.
- Select NFC Mode under the Kiosk settings section.

- Click on the back arrow on the top left corner to exit the kiosk settings screen.
- Tap the NFC tag onto the external reader.
- A confirmation message will be displayed on the kiosk once you are successfully clocked in.

- To clock out, simply tap your NFC tag onto the external reader a second time.